

This post will catalog all of my Giant Coffee Filter Roses
In this post I will show you the giant paper roses I made out of coffee filters :)
Here are the steps to making the rose buds

Here is a step sheet for making the petals
Each petal is doubled so that it appears thicker and isn't so delicate that you can't
manipulate it
Heart shaped template requires 15 per rose (so cut 30)
Teardrop shaped template requires 5 per rose (so cut 10)
Lay 2 petal cut outs one on top of the other but place the top one slightly fanned off
to the side but meeting at the point
Place both pieces together in your hand with your thumb in the center and point facing down...
then, while holding the petal firmly, twist the points of both petal pieces together
NOTE: View last image in the steps page below

The petals below are from other roses
I just put them here to show you what a bunch of
them would look like all together :)

Here are different colour choices...
Tea dye

Tintex clothing dye

A variety of dyes from tintex are available

The dying process takes a while
plan to do it when you have a couple days of free time
I took regular coffee filters and soaked them in tea stain, or dye until I liked the depth of the colours
I then hung the filters up on a makeshift clothesline with clothespins over my kitchen sink until they were mostly dry...this is the part that takes FOREVER.
If you have the option to hang them all outside on a nice day, I suggest you do
Then I used an old iron on the highest setting and ironed each and every one of those filters
The ironing did 3 things
1. It dried up any wet or damp areas on the filters
2. It made each filter nice and flat for cutting
3. The heat from the iron created tiny creases in the filters (happy accident)
that looked like veins :)
Here are the colours I used


Here are the templates again, but in larger format
NOTE: I folded my coffee filters in half so that I could cut just 15 of the heart template
As you can see it is just barely attached to another heart...this makes the twisting so convenient


Once all your petals have been cut out, layered and twisted, it is time to begin the assembly.
ASSEMBLY
I do not have any pictures of the roses actually being assembled so I will have to try and explain the process.
1. Your buds have already been made so that makes it easier at least.
2. Have multiple pieces of tape approximately 12" long ready on the edge of a table
3. Take 1 piece of tape and attach it to the underside of the rosebud...the tape should be on a slight downward angle so you can twist it around the stem without too much difficulty
4. Go around the base of the bud 1 time with the tape
NOTE: I suggest you practice wrapping extra petals around a scrap pipe cleaner with tape...it has to be tight so it takes a lot of practice to feel comfortable with how you have to hold everything
5. Take one of the doubled teardrop petals and place the twisted point directly under the rosebud along the stem...then twist tape around the bud again. You have now attached your first petal :)
6. Place the second petal just a bit past the first under the bud, this makes a spiral with your petals as they go on...then do another pass with the tape. You have attached your second petal :)
7. Repeat this process until all five teardrop petals have been added
8. Repeat the same exact process with all fifteen heart shaped petals as well...always remembering to slightly stagger each petal as you add to create the spiral effect of a natural rose
I treated the rose leaves and calyxes exactly the same as in my previous post


This time, I used a full length pipe cleaner, glued a leaf to either end and
then cut the pipe cleaner in half


I then crunch up each leaf and manipulate the paper a tad to make them look more real

Then I begin adding tape to cover up the pipe cleaner
NOTE: You only have to go down half way with the tape


Then again, we have to make a hole in the center of the calyx so that it fits over the chunky base of the rose


Now that the calyx is in place we have to tape the rose stem


Only go down the rose stem half way...then place one of the leaf stems in
see below


Twist the leaf stem once around the rose stem and continue taping


One rose finished :)

Here you can see I have added one of my vintage tags to the stem

I made 85 of these giant roses in a variety of colours
each one was placed in cellophane sleeve
Below I have included a bunch of pictures so you can see all the colours


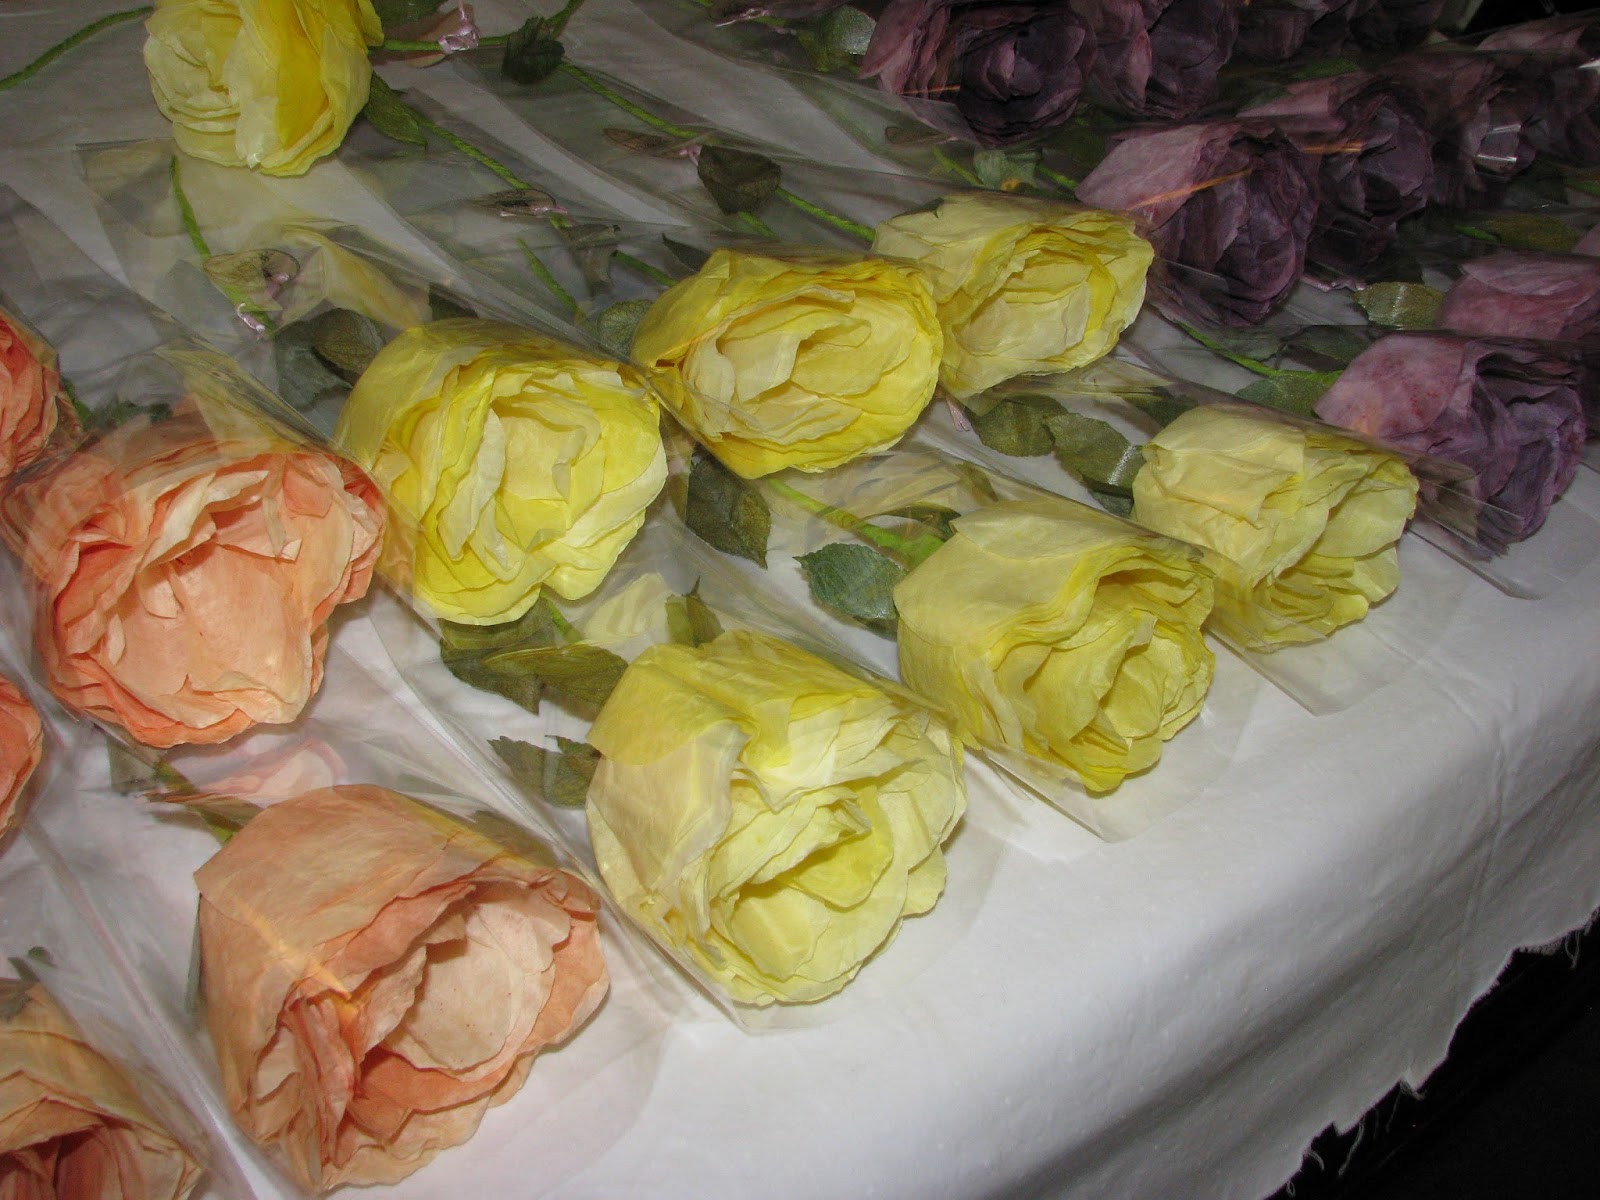


The roses in the jug are over 6" in diameter
The ones on the table top have been crushed so they fit in
the sleeves...however, a little fluffing and they will look fantastic again

I hope you enjoyed this post as much as I enjoyed sharing it with you
Until next time, Be Creative :)