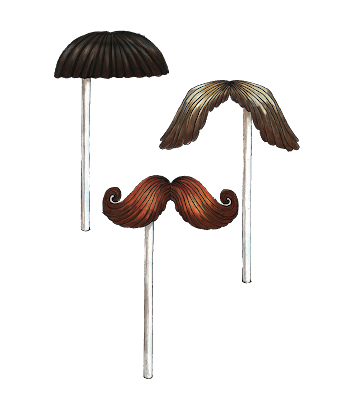
I call this guy "Big Red" or just plain old "Dude",
which really made my Mom laugh.
My husband Trevor is part of the
Student Association at college...he is currently the VP of Services.
His duties for this position are directed toward the student food bank, the tutoring program and of course, fund raising.
He had to come up with a November fund raising event...he decided on a MOVEMBER theme.
He created 100 chocolate mustaches to raise awareness for prostate cancer and to raise funds for prostate cancer research.
What an awesome idea!!!!
It was a dual purpose event...in support of prostate cancer research as well as the Student Food Bank.
You could either purchase the mustaches outright, or offer a non perishable food item to the Student Food Bank and receive a delicious chocolate mustache.
I offered to create a poster for him.
Of course, I didn't stop there...I also created a MOVEMBER banner and some cardboard cutouts of mustaches to decorate the event table.
Here are the materials needed for the banner.
*an old metallic letter banner to use as a template
*decorative paper
*glue
*an old file folder (use to back your letters)
*scissors
*paper clips
*pencil for tracing
*single hole punch
Trace your banner letters onto the back of your decorative paper and onto your file folder.
NOTE: Make sure the letters "B", "E" and "R" are right side down when you trace so that they are facing the right direction when you cut out the decorative paper!
Now cut all your letters out. Glue the decorative paper letters to the file folder letters...this cardboard is thin enough to cut with your scissors, but firm enough to give your letters a bit of stability.
Using your single hole punch, punch out holes on the letter tabs so you can attach them together with paper clips. I chose red ones because they match my paper choice.
Here is my finished banner.
Okay, now onto the elements for the poster.
I had to draw my main character first...this is how "Dude" looked from pencil drawing to finished product.
Here are the food cans...
Here are the mustaches...
Then I created a 2 full sheets of mustaches (8 of each) to cut out for table decorations.
Now, the final step is to put all of these elements together including text...
here is the finished poster.
I hope you enjoyed this post as much as I enjoyed sharing it with you.
Until next time, Be Creative!!!!


