

I loved everything about it, the people and the easy going way of life.
For this project, I was looking for a fishing village look.
I started to draw, and came up with this cute lobster figure.
Once I had perfected his look, he became the inspiration and focal point for this entire piece.
Here are the steps I took to achieve the finished product.
1) Ideas and drawings.
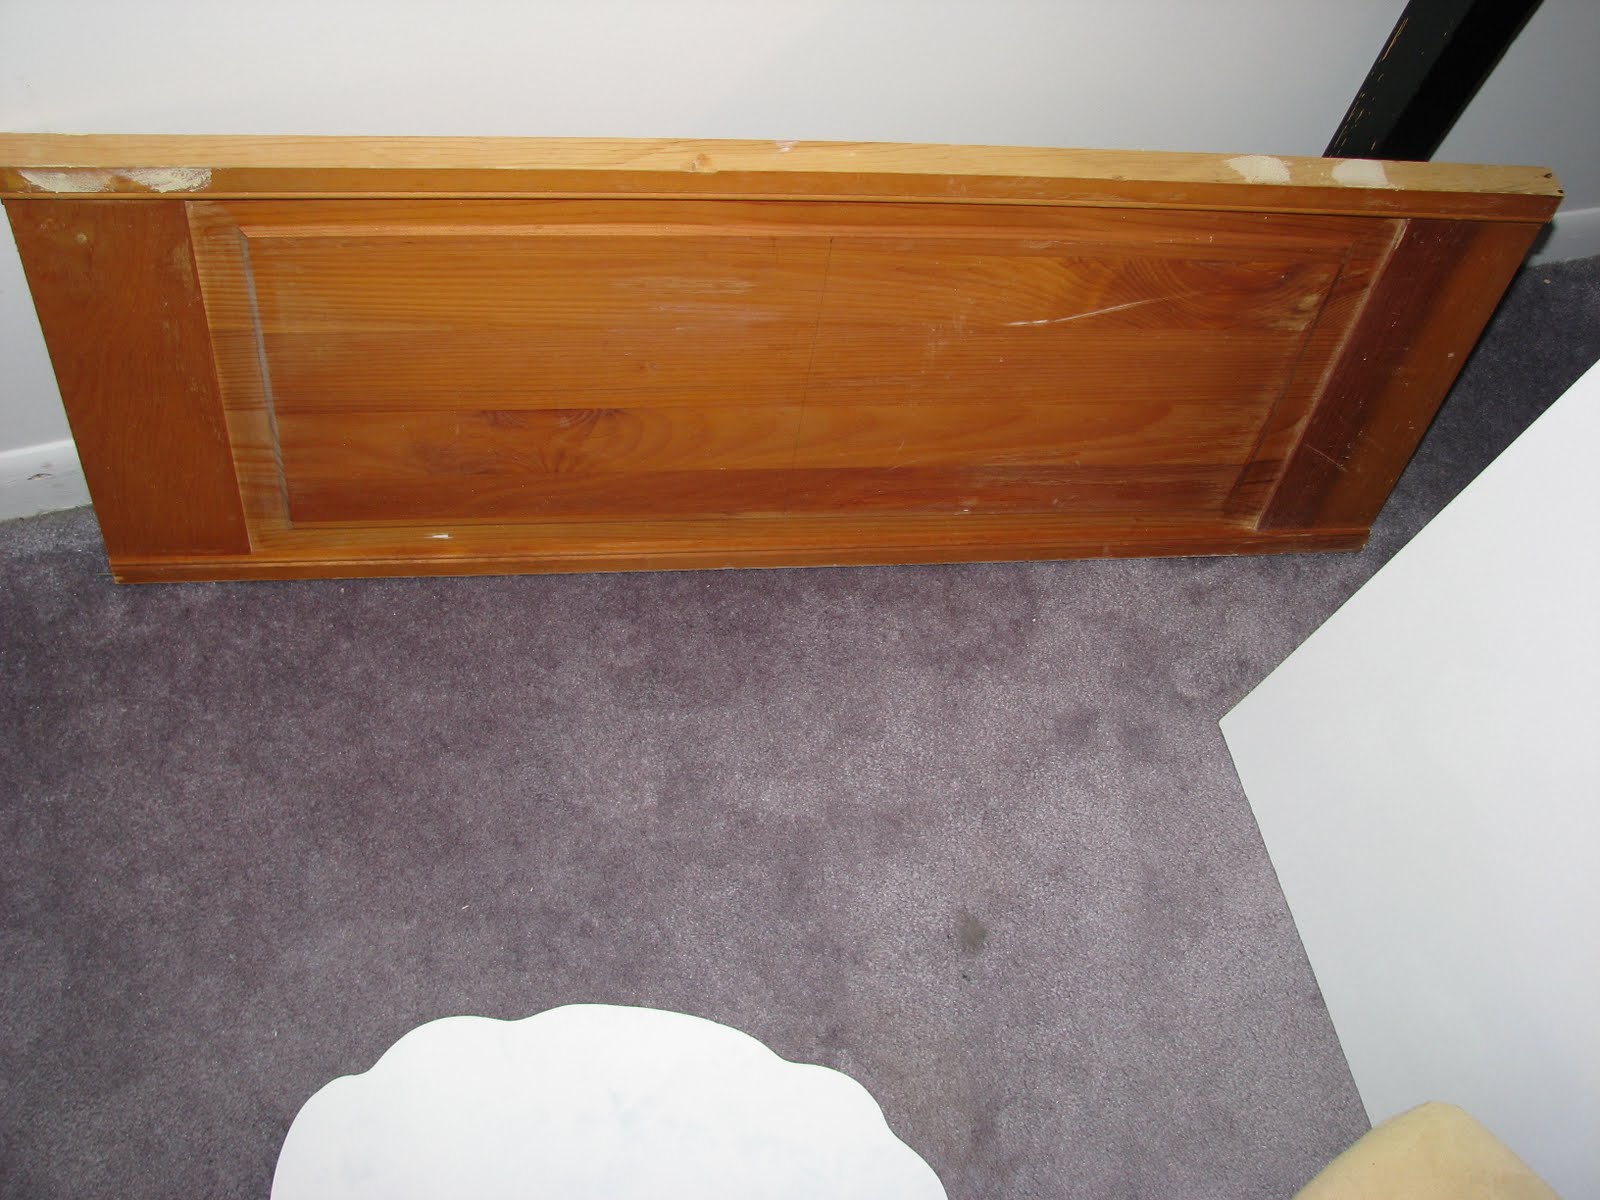
2) Now, I look for a canvas.
I decided to use the bottom part of a pine closet door. I cut the top part off and filled in all the holes with paintable wood filler.
3) The next step is to draw my final copy onto the board.

4) Once all the drawing is complete I can start creating my 3-D effects out of DAS clay.


5) I leave the clay to dry.
6) When the clay is dry, I can begin attaching the pieces to the board with no more nails glue.
NOTE: I didn't attach everything at this time, I did some painting in between.

7) Painting and effects.
I painted in each panel just to get an idea of what the finished product would look like.


8) I now decide that instead of using straight paint, I would like the LOBSTER POT RESTAURANT to have a stucco effect on it's exterior. I have used tile grout to create the look.


9) Now I can begin painting the entire piece.
Here are some progression photos of the HARBOR SIDE BAKERY.


Here are progression photos of the LOBSTER POT RESTAURANT.


Now for the SCHOONER INN progression photos.
NOTE: I had to paint the SCHOONER INN about 6 times before I was satisfied so there are only a few photos.


10) Now I paint the frame black and sign the back.
11) I can now distress the black paint.

12) I now coat the entire piece with 5 coats of varathane.
NOTE: Varathane goes on milky but dries clear.

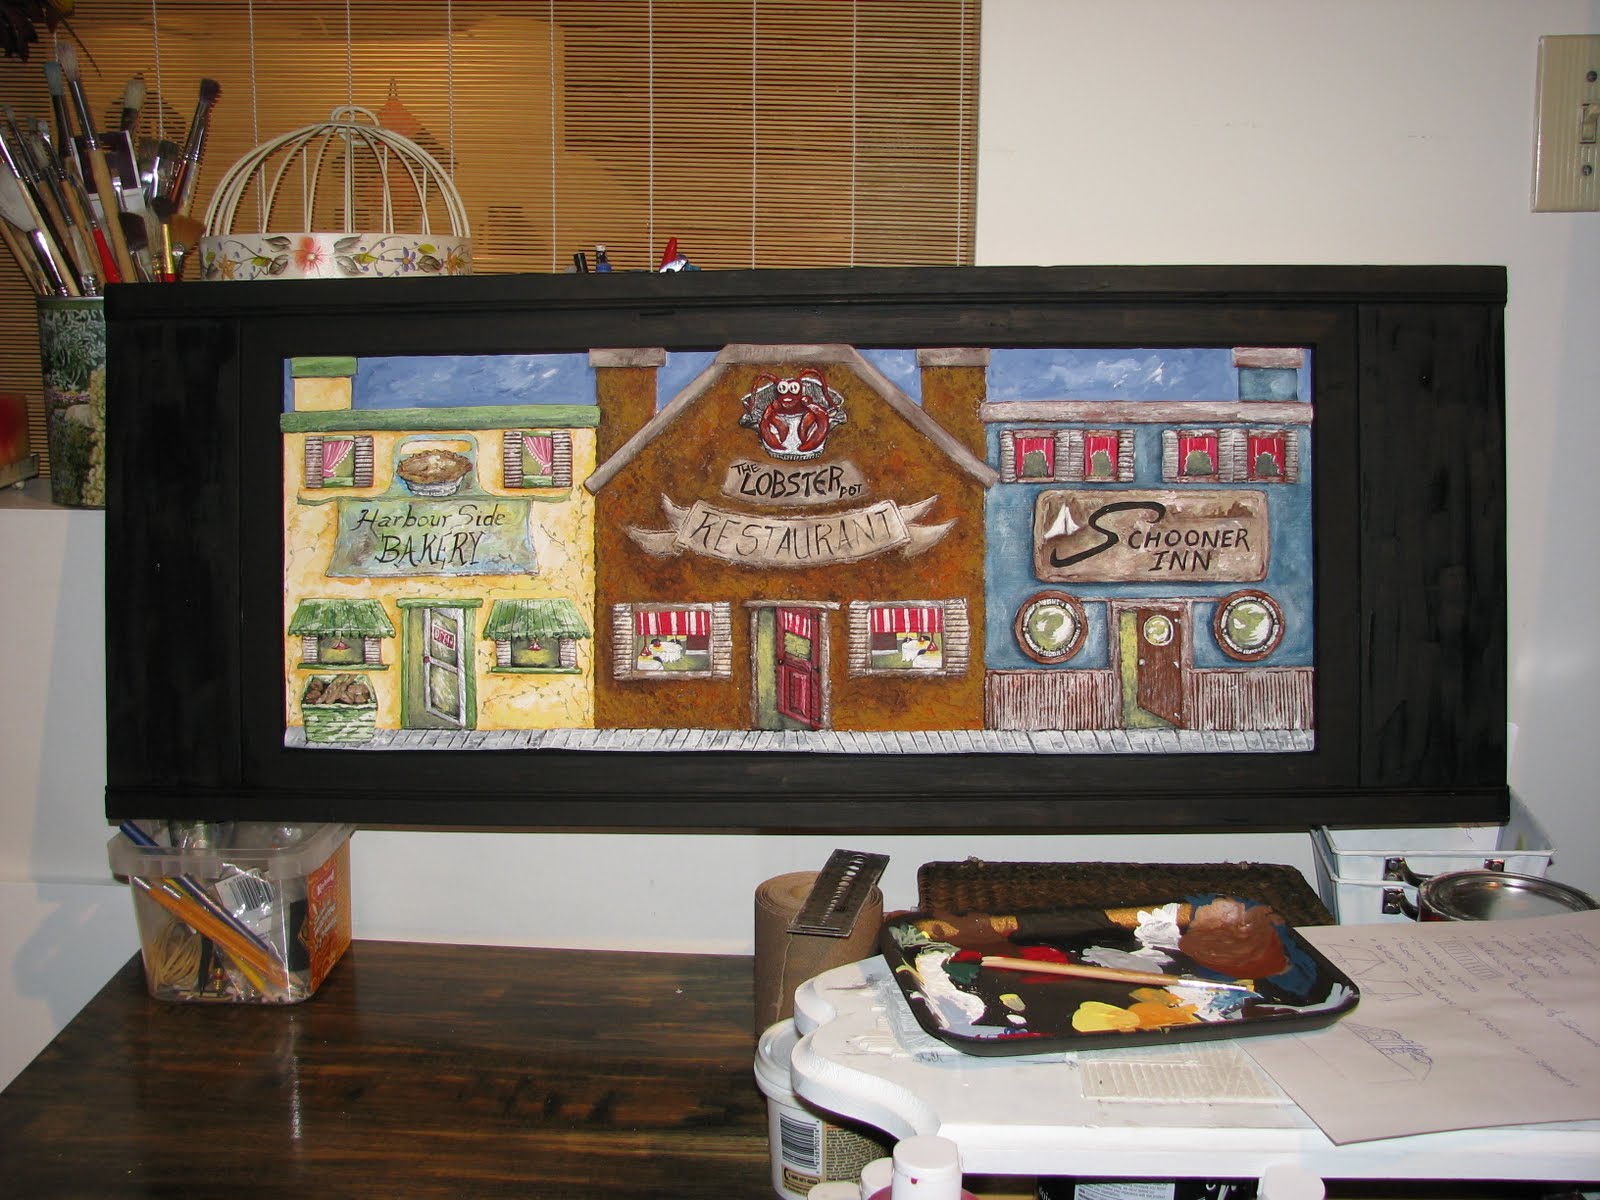
Here are the finished photos.


I hope you enjoyed this post.
See you again soon.