

In order to create a conversation area in my living room, I began an exhausting search for a narrow loveseat.
I happened upon this cute settee while browsing the furniture selections on http://halifax.kijiji.ca/. It was perfect, and only $60.
Although the original fabric and construction is great, I do not like the colour.
I needed to create a slipcover for it, in earth tones which are more to my liking.
Onto my next search FABRIC.
My husband Trevor took me to Value Village, one of my favorite places where I found a set of huge curtains that had been professionally made, and at the bargain price of $24.99 for both panels.
They look like taupe chenille on the front and beige silk at the back.
Because of the richness of the fabric, this material would be absolutely perfect for my slipcover.
Here is a photo of the material.


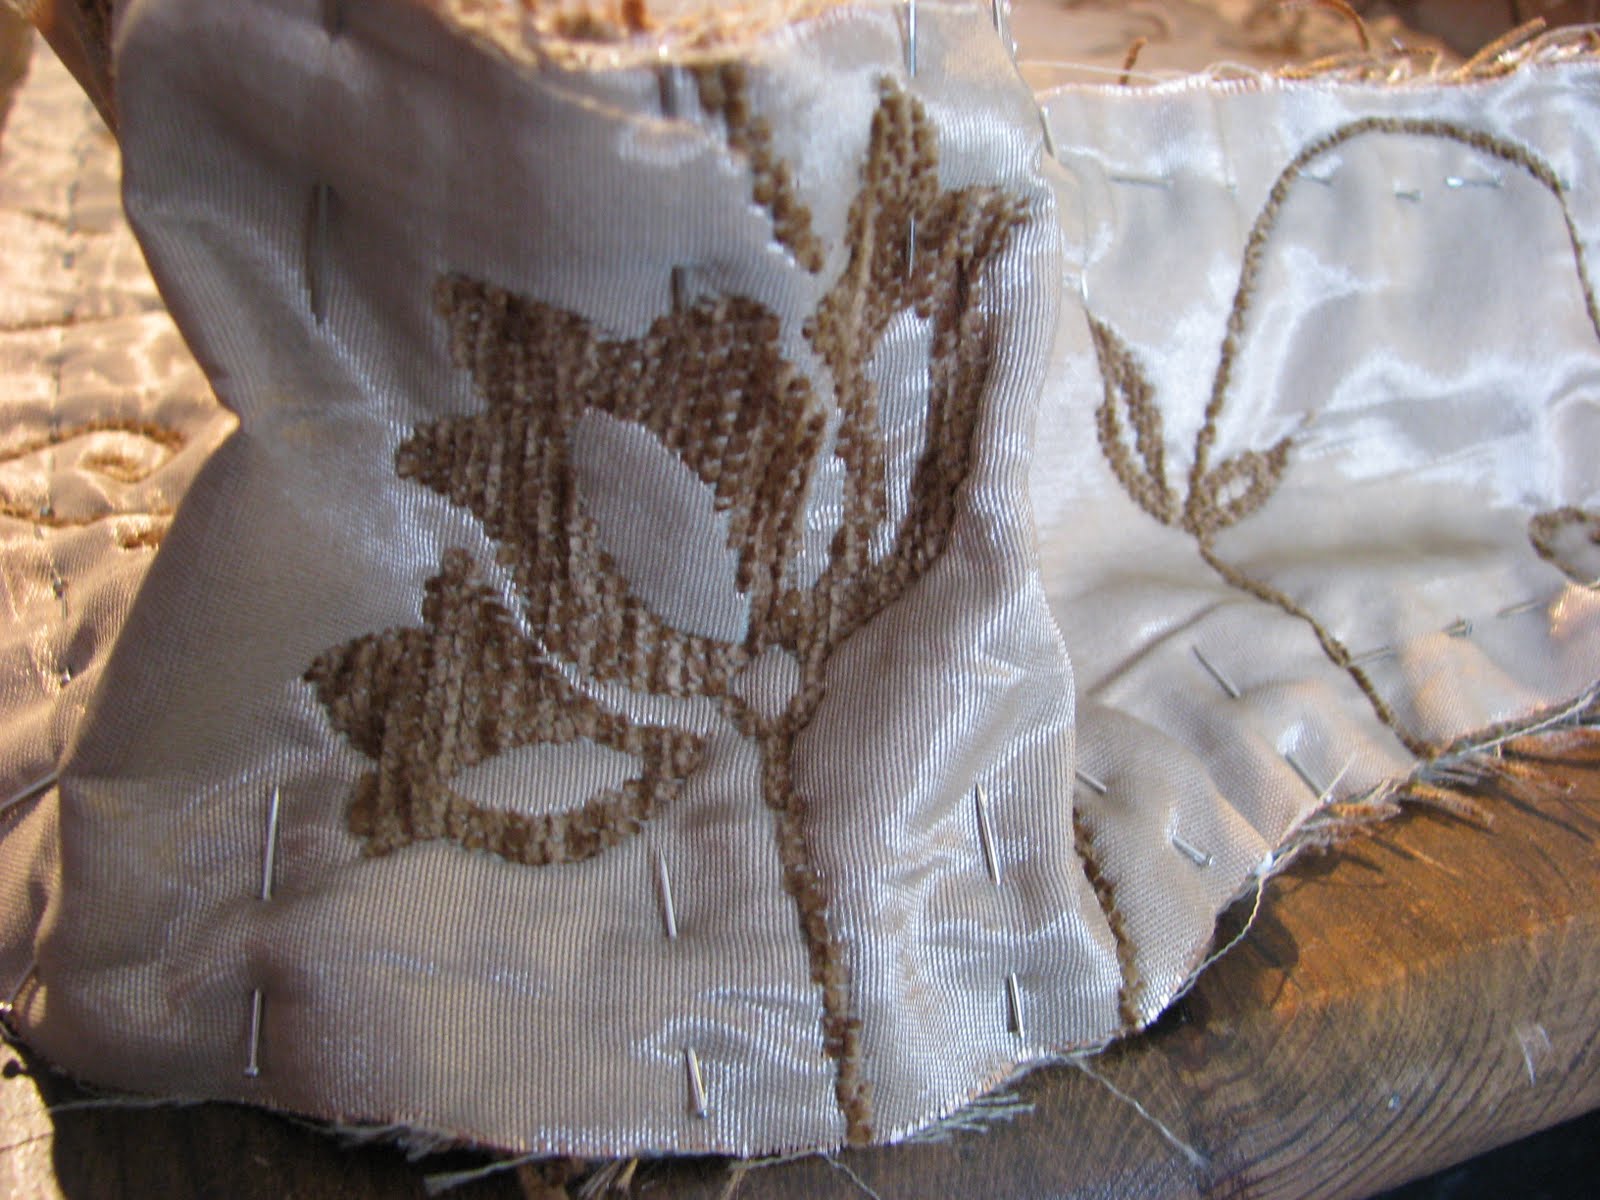
I spent the first afternoon removing all of the pinch pleats and thread from the curtains. I left the decorative side hem alone, deciding that I would incorporate it into my finished design.
Then, I realized something,....my sewing machine was out of order so I would have to sew everything by hand.
YIKES!!!
Although I thought the task was a bit daunting, I wanted the slipcover more. I spent the next three days sewing until my fingers bled to finish my masterpiece.
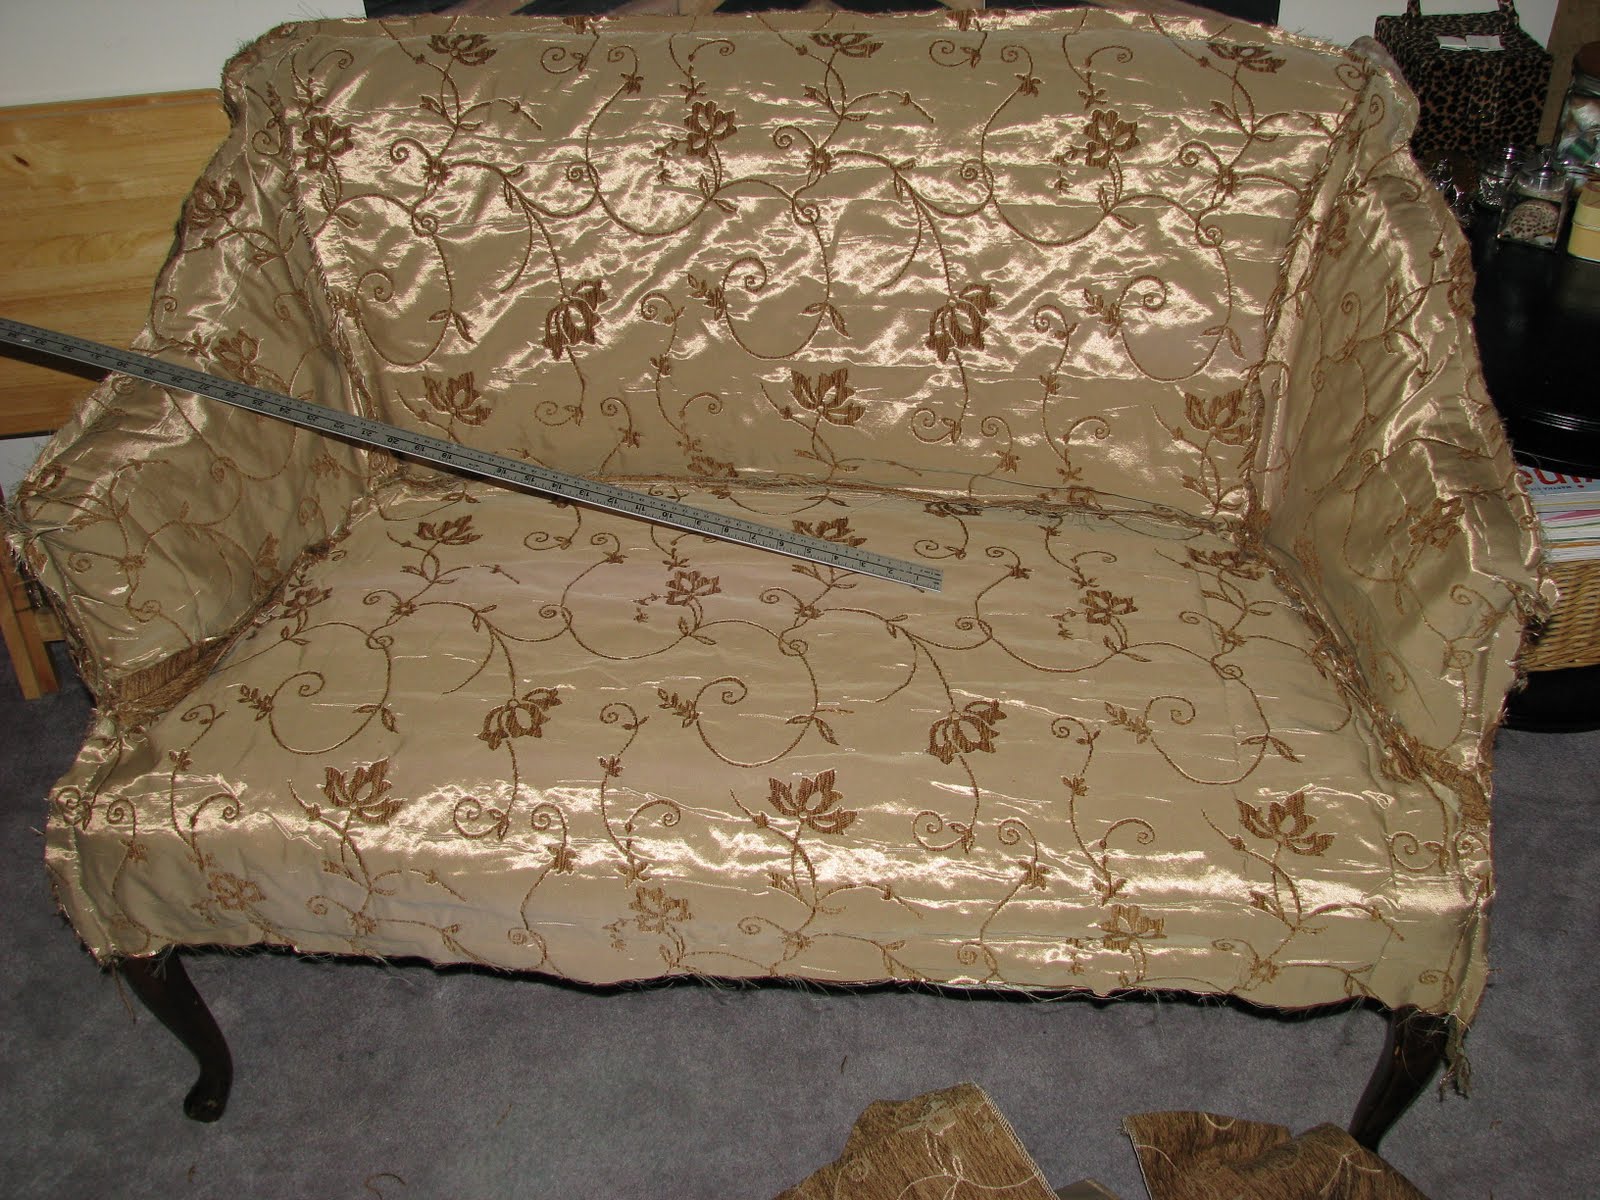
Now comes the tricky part.
When you use fabric that has a floral pattern or design, you must make sure that it lines up perfectly before you make any cuts.
This all seems very easy until you realize that in order to make a slipcover, you have to cut and pin while your fabric is basically inside out.
NOTE: After pinning your material, always check for fit before sewing anything.
Simply reverse your material, (being very careful to not dislodge any of the pins) and place it over the piece right side out.
Here is an example. The front back and sides have not been sewn yet, I am checking the fit. This is the point where manipulating the fabric is possible.

Now, in the next 2 photos, I have completed pinning the front, sides and back.

For a bit of drama, I decide that I would like some box pleats at the bottom.
This is where I will incorporate the existing finished hem from my material.
Here are photos of the loveseat front, sides and back with box pleats.
This is the pinning and fitting process again.


I also decided that the seat didn't look comfortable enough, so I created a nice plush looking cushion.
Here are the photos of the creation process.

I wanted the cushion to be thick so I created a 4" band all around.


I left a small opening so I could stuff it. I later sewed this closed.

Here are the finished product photos.
Without the cushion


I hope you enjoyed this post, and that you attempt to make your own slipcover.
Until next time, happy crafting!