
 |
| NOTE: This is the first draft of the sign. |
The sign I will showcase in this blog post is called Watkinson's GROCERY, and it was inspired from an old sign that appeared in an episode of Sarah's Cottage on HGTV.
*If you go to The Candy Shack blog post (inspired by the same source), you will find a link leading you to the episode in question*
As usual, I will take you on a journey through all the steps I took between the preliminary sketch, all the way to the completed piece.
As I have stated many times on this blog, I LOVE vintage style ads.
I love the vibrant colours and the hand drawn look. Somehow, it just all seems so much more happy and personal when compared to the ads of today.
Let me now begin by showing you the preliminary drawings in pencil (above) and in colour.

The blue background was my first option, but I REALLY loved the vibrancy of the green and orange in the image below.

Once I had picked my overall colour scheme, I was ready to purchase the plywood board.
Once I had the board, I created the lettering first.
Using some paper and lots of tape, I wrote out Watkinson's in cursive and then proceeded to cut it out so I could trace the outline onto the board later.


I went online and found free fonts to print off for the word GROCERY.

Now I begin to draw in all of the produce.

I added quite a few items that weren't in the preliminary drawing, including kiwi, lemon, sweet ancient red peppers, Swiss cheese, tomatoes, mushrooms, butter, peas, jam jar, turnip and a green pepper. Here is the final drawing on the board before painting.

I will now show you some close ups.


Here is the background and the text finished...I will sand this down later to age it somewhat.

I couldn't decide what colour to make the inner border (right inside the outer frame) so I found inspiration in two different vintage style, decorative paper pieces.
Here they are.


I combined flowers from both decorative pieces of paper and created my own pattern...here it is.

Here is the border drawn, started and completed.


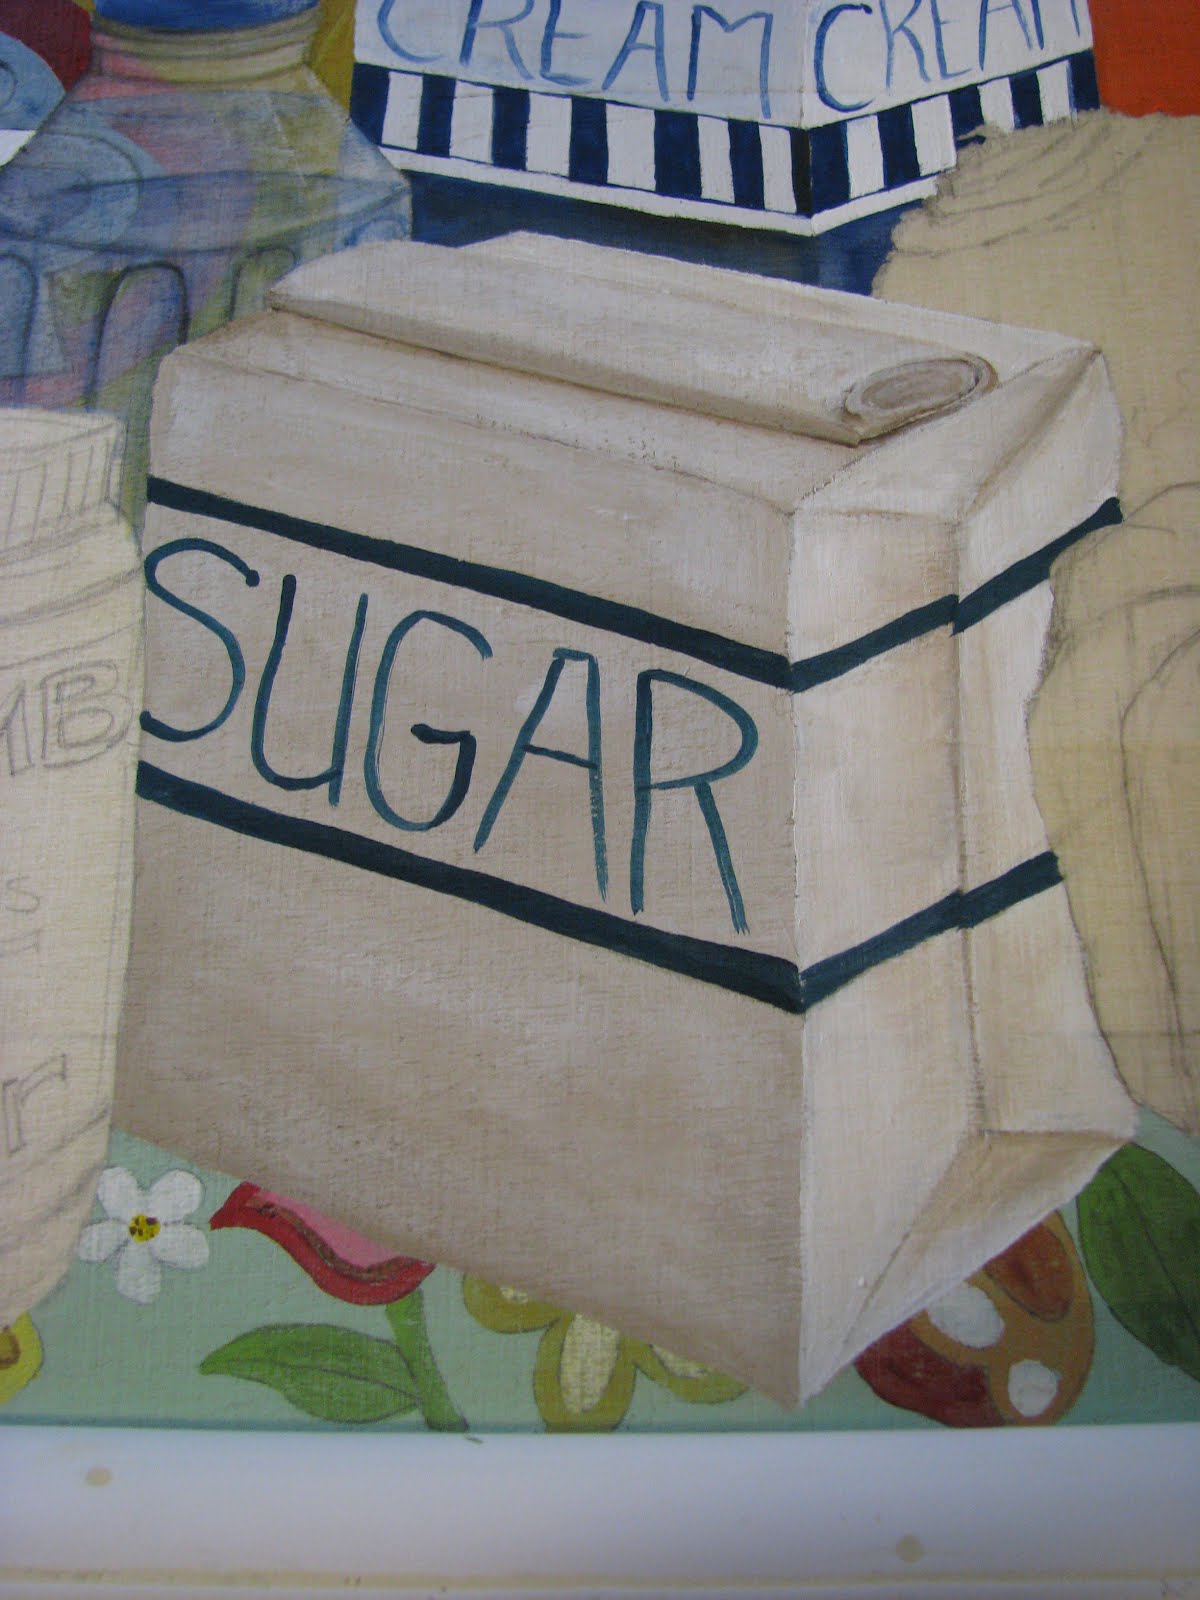
Now, I will show you each item after it has been painted in...


Here it is in it's entirety before gloss coating.

Now here it is with quite a few coats of gloss.


I hope you enjoyed this post as much as I enjoyed sharing it with you.
Until next time, happy crafting!