

Here is an original photo of the BIG PATCH VEGETABLES ad.
NOTE: The colours in this version are quite a bit more muted than the copy I used as a reference.

Here is what DAS clay packaging looks like.

(As a side note, I have painted my version of BIG PATCH VEGETABLES on my very first post on this blog called REFURBISHED DESK).
Here is a photo of my version from said post.

Now, lets begin.
I used 4 packages (2 Terracotta coloured and 2 white) of DAS clay for this project.
I began to hand mold all of the fruit and vegetables, using all kinds of implements to create various textures. example; hard bristled paintbrush to create a stippled effect, flat screwdriver to create grooves and blunt edges, etc...
Here are some photos to show how they looked before painting.
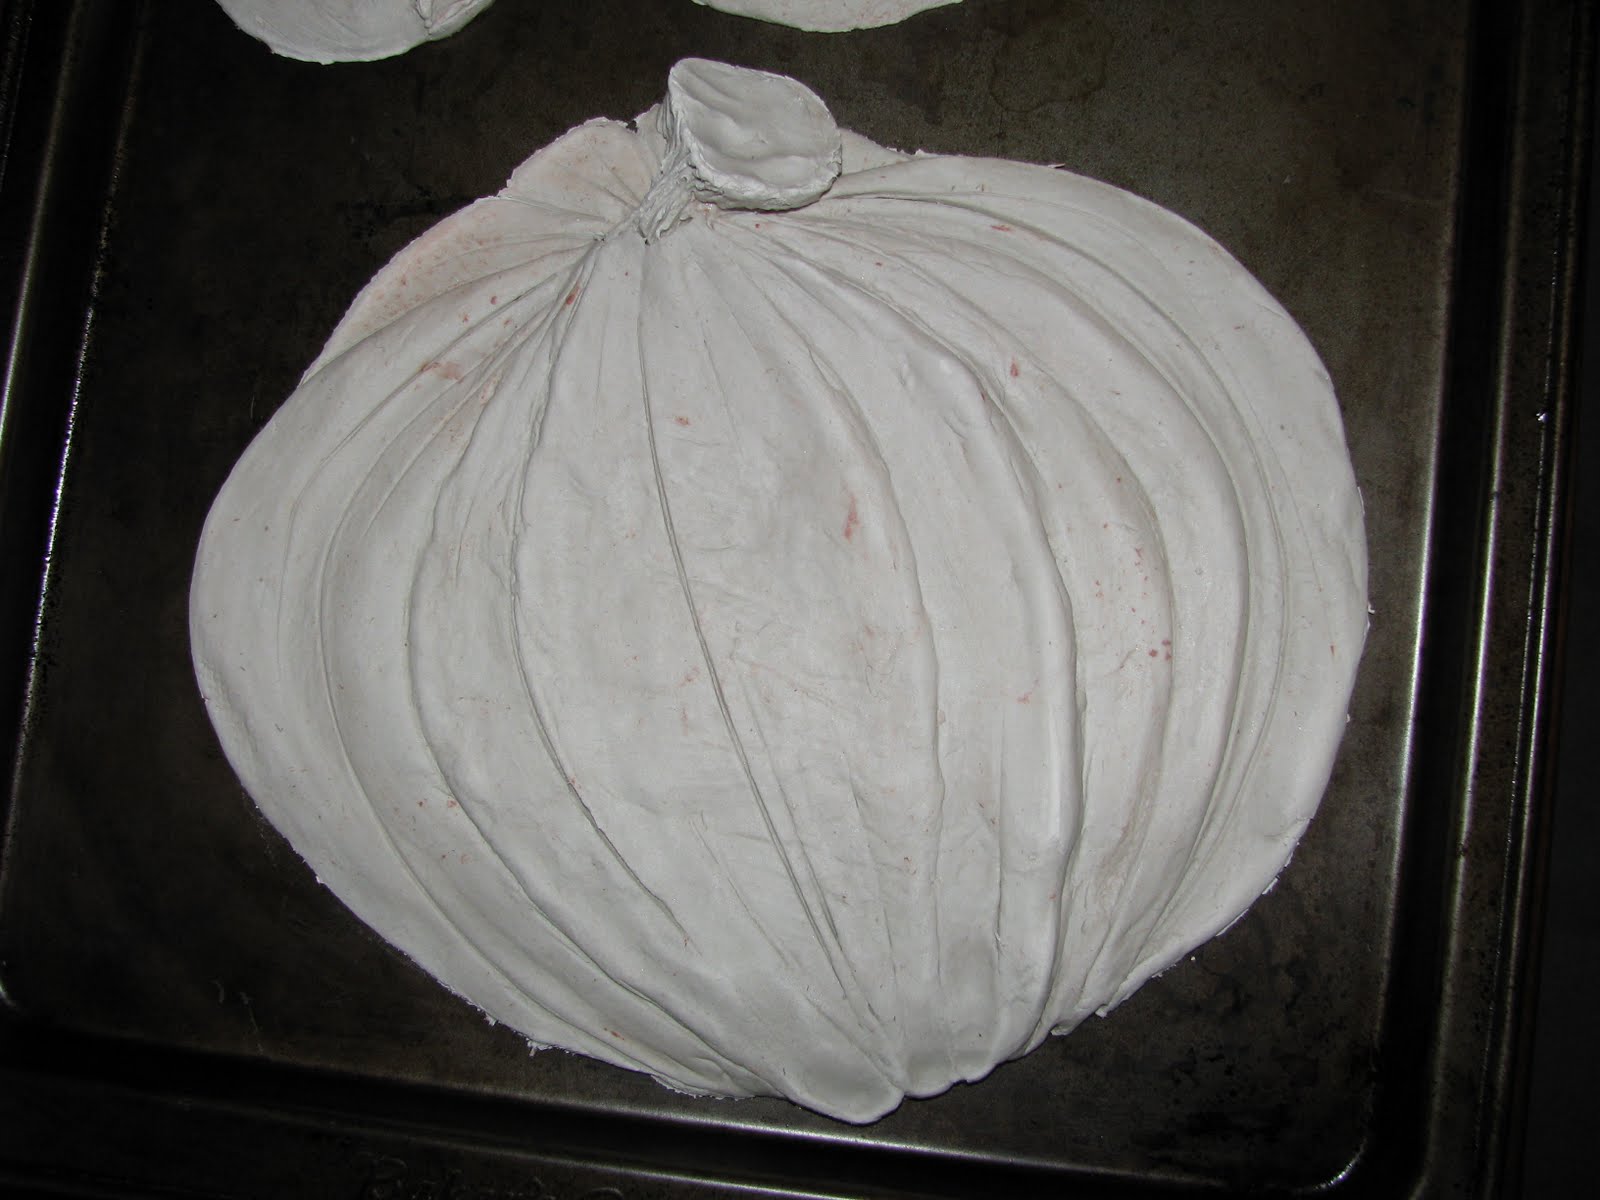 |
| Small Pumpkin |
 |
| Butternut Squash |
 |
| Grapefruit |
 |
| Mushrooms (MY FAVORITE) |
 |
| Cabbage |
 |
| Orange |
 |
| Lemon |
 |
| Apple |
 |
| Pear |
 |
| 3 Strawberries |
 |
| Grapes |
 |
| Corn |
 |
| Celery stalks |
 |
| My beautiful carrot |
 |
| 1 of 2 potatoes |
 |
| This is my cucumber |
Now I used a plywood board as my base with 2" pine trim along the perimeter.
The measurements of the board are as follows;
2 FEET HIGH X 4 FEET LONG X 1/2 INCH THICK.
Here is a photo of the board all ready to begin.
Wood trim has been added, nail holes have been filled with paintable wood filler, and the entire surface has been primed.

O.K., now that I have prepared my board I can now begin dry fitting all the fruit and vegetables to get an idea of the final layout.
Once I have decided where I want everything to go, I start putting the puzzle together.
I want some of the fruit and vegetables to overlap others so I actually have to make cuts into some of the clay pieces.
See the two photos below to illustrate what I mean.
I drew around the shape that I wanted to overlap in this photo.

Here, I have cut out the shape so that some of the fruit looks as if it sits in front of the others. Take a look.
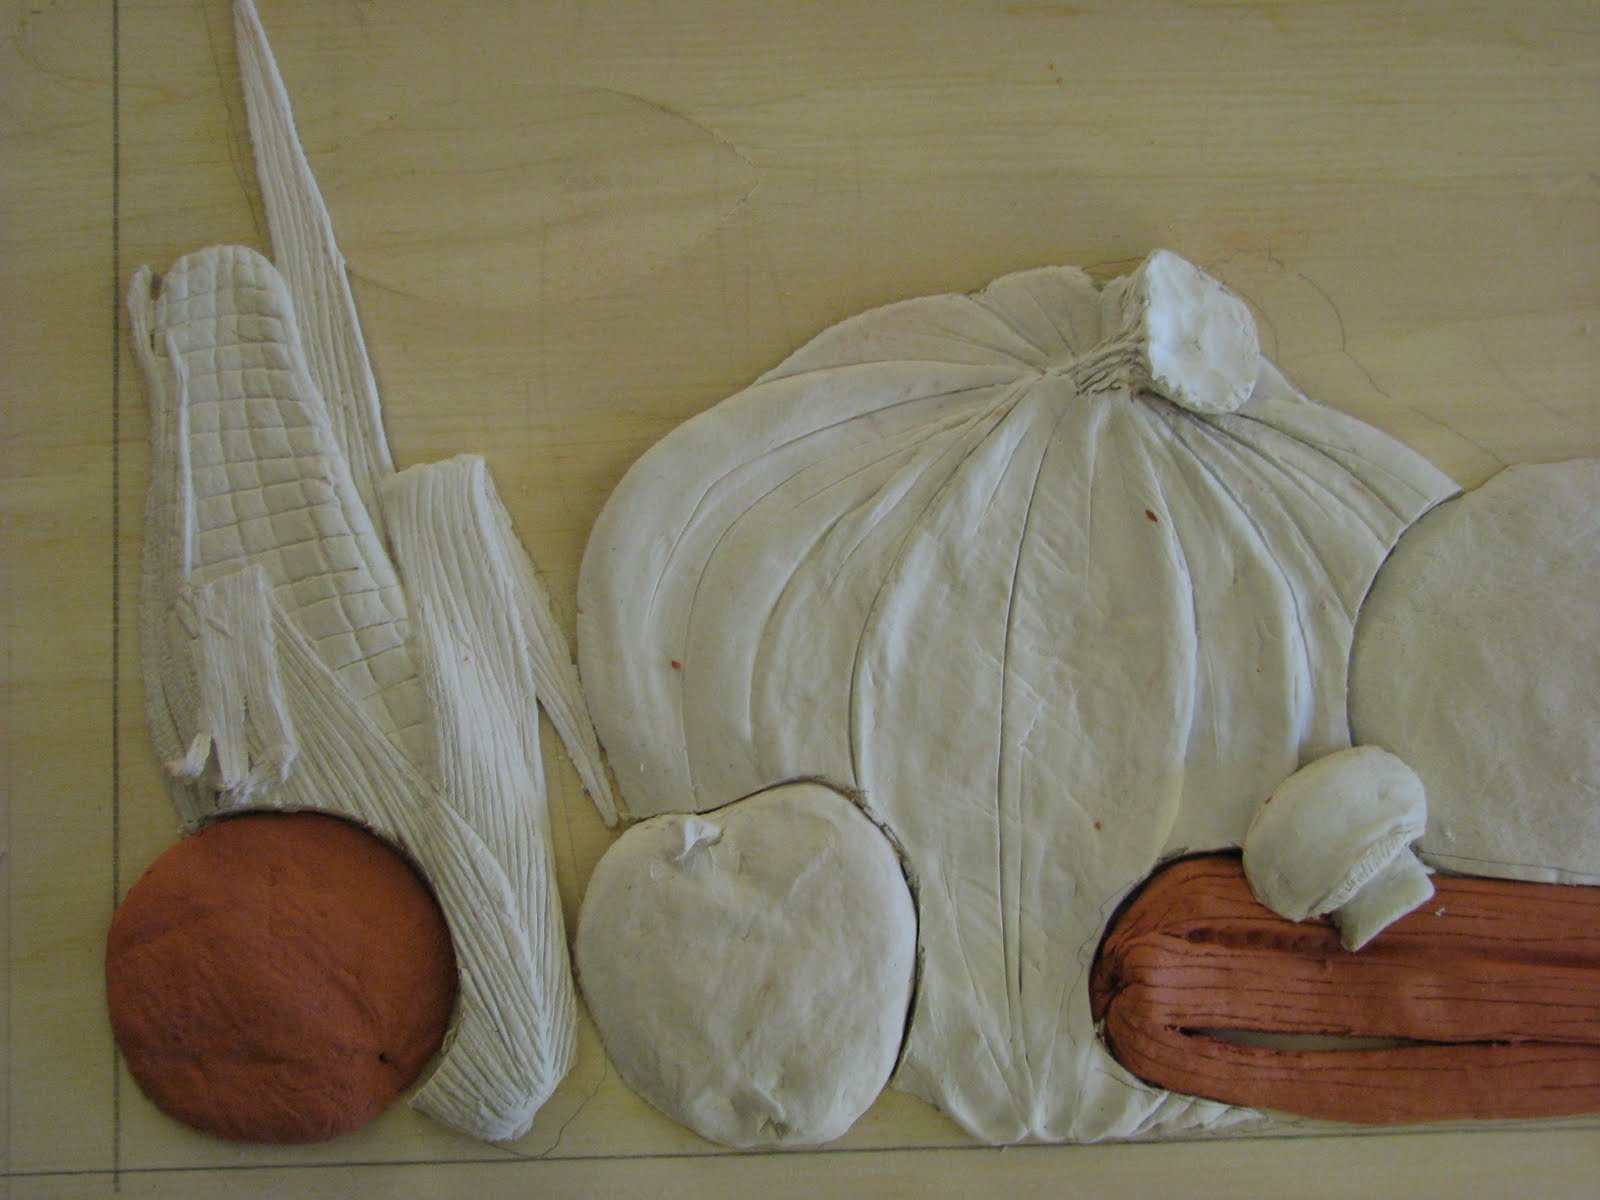
Now, I continue to do this until I have all of the fruit and vegetables in place.
Then, I glue every piece to the board, within an inch of its life.
Now that I have set everything with glue, I can also take this time to draw in my basic overall design.
Notice that I also cut out some letters to use as a template for the word FRESH.
If you are doing a project and looking for fonts, you can search for royalty free fonts or alphabet...the selection is limited, but it is available, all you have to do is print.
Here is a photo of this process.

Now, I am sure that you have noticed the gaps that now appear between the fruits and vegetables...not to worry, we have a solution for this....it's called **WOOD FILLER**!
Here is a photo of all the fruit and vegetables in place with wood filler to conceal all of the seams between.

Now, here it is with the wood filler all sanded smooth and the painting has begun...notice if you will that my inspiration photo is never too far away.

I will quickly go over all of the steps again and then show you the finished product.
PROJECT DETAILS
* 1/2 inch plywood base measuring 2' X 4'
* pine trim added to create a frame
sealed nail holes with paintable wood filler
* primed
* hand carved all fruit & vegetables out of (air drying) DAS clay
attached with no more nails glue
IMPORTANT NOTE: Make sure you allow the clay to dry for about a week, turning each piece daily
* used acrylic paints
* antiqued the frame
* used acrylic GLOSS sealer
not an outdoor grade sealer
* added three eye hooks to the top for hangingHere are the after photos.
 |
| Here it is hanging over my 42" T.V. |


I sincerely hope you enjoyed my latest post, I know I enjoyed sharing it with all of you.
See you next time.